...
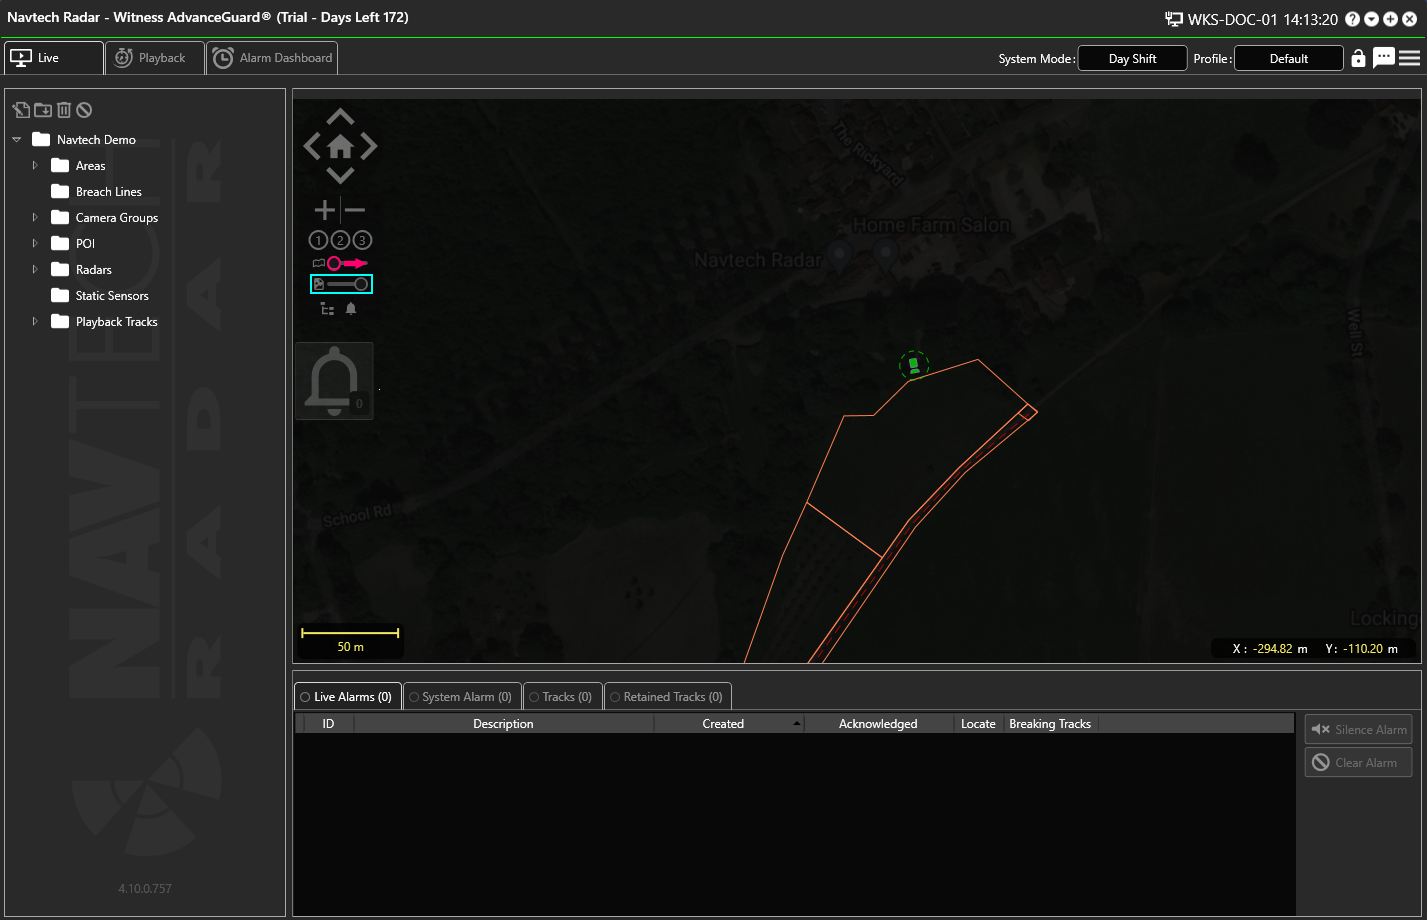
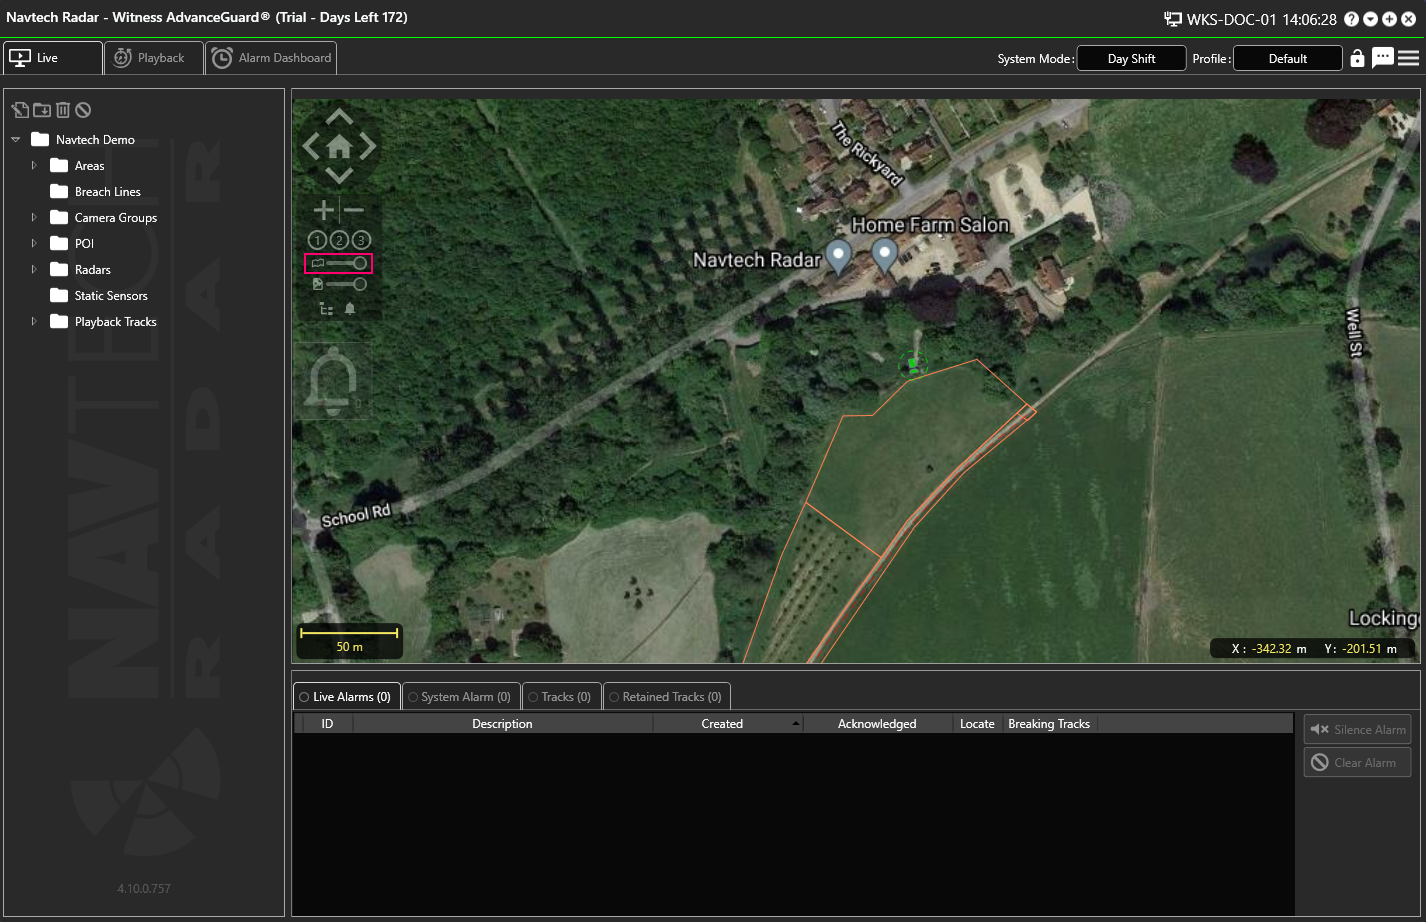
Check to see the position of the Map Transparency Slider. In the example below it is highlighted in pink and is switched off. It is located above the Picture Transparency Slider highlighted in turquoise.
If the transparency slider is on the left, move it to the right:
No Transparency Slider
...
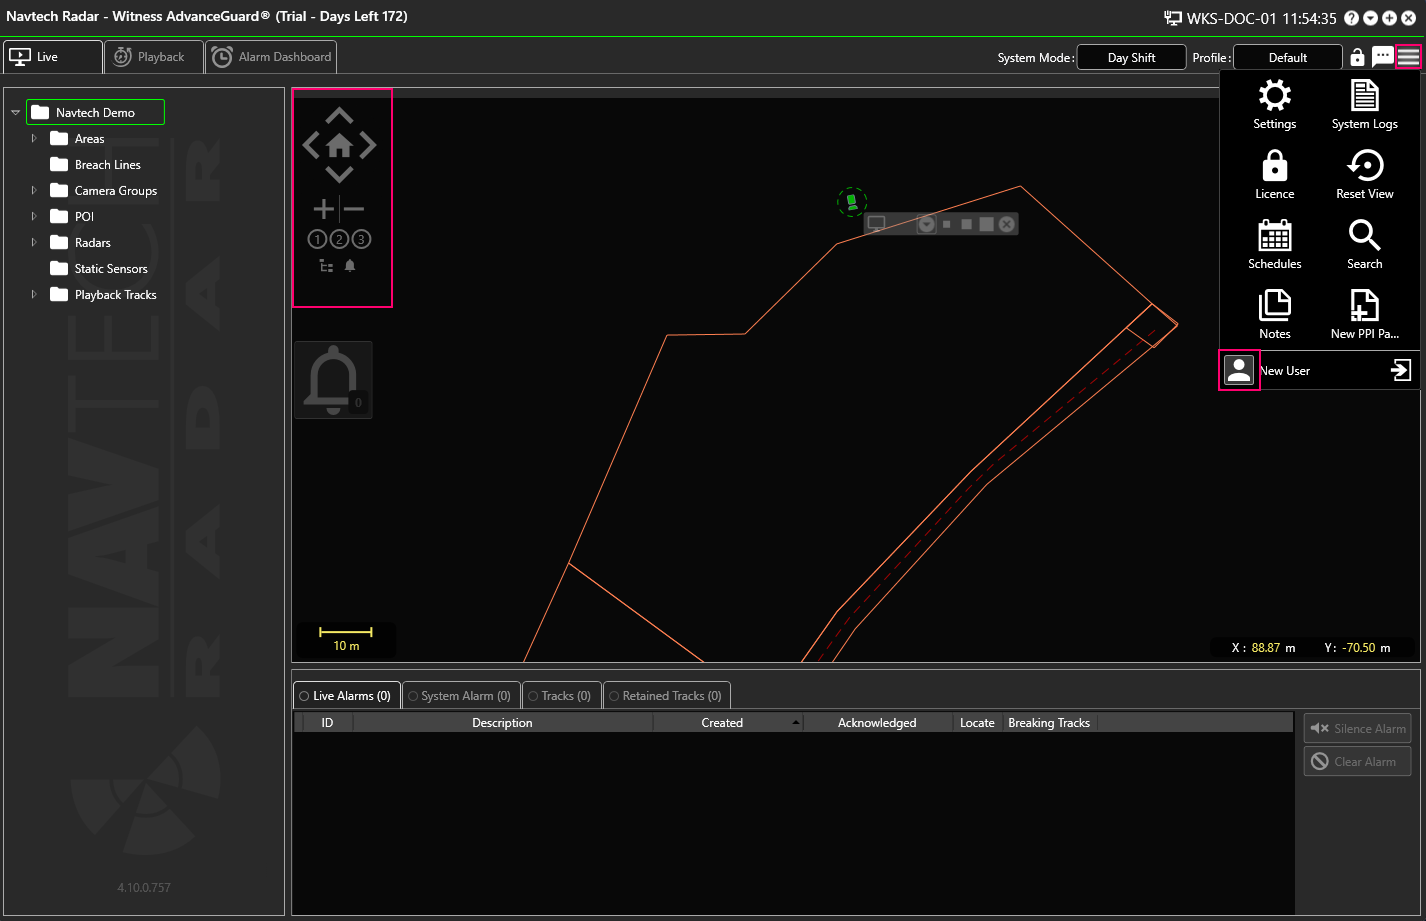
Check the settings in the User Details:
Navigate to the Background Display settings and check to see if there is a background image option selected. If there is not then you can check to see if there is a background or static image which would normally be applied.
If the Background Map Type is set to None, then click Edit:
Then select either Google Map or Open Street Map from the Background Map Type drop-down list:
If you select Google Maps, there are additional options:
Make a selection and click Save.
Return to the Live screen and adjust the transparency slider if required to see the background image.
For more information about background images please see the following pages: Displaying a Map Adding a Background Image Adding a Background Image in ClearWay™
...
Check that the camera has been added to the Camera Controller:
Incorrect Stream Format
...
This setting can be changed in the UI Stream within User Settings - not Camera Settings.
You will need to check what the correct Stream Format is, as it will vary depending on the camera model.
VLC Media Player has not been installed
...
Witness has been designed to not show any radar data when this occurs:
Simply zoom back in, and the radar data will reappear:
Radar not Allocated to Track Engine
...
Navigate to the Topology page and ensure that the radar has been allocated to a Track Engine like this example:
If the radar has not been allocated, drag and drop the radar into the Track Engine:
No Recorded Track Data
...
Check to see the Track Recording Mode:
If it has been set to None then there will be no track recording.
To enable this feature, click on Edit to open the drop-down menu:
Then select Incident or Save All and click save Save:
Unable to Store Track Data
...
This means that an operator may need to locate all of the individual logs to diagnose issues across the system.
Was this guide helpful?
Yes, it answers my question
No, it's inaccurate
No, it's incomplete
No, it's confusing
No, it wasn't what I was looking for
Other
How can we improve this guide? This form won’t submit a case. We’ll just use it to make this guide better. If you require further attention please contact us at Navtech Customer Support
...
Related Information
| Filter by label (Content by label) | ||||
|---|---|---|---|---|
|
...


