...
Open the installer / upgrade application.
A warning will be given asking if you want to allow this app to make changes to your device. Select Yes to continue.
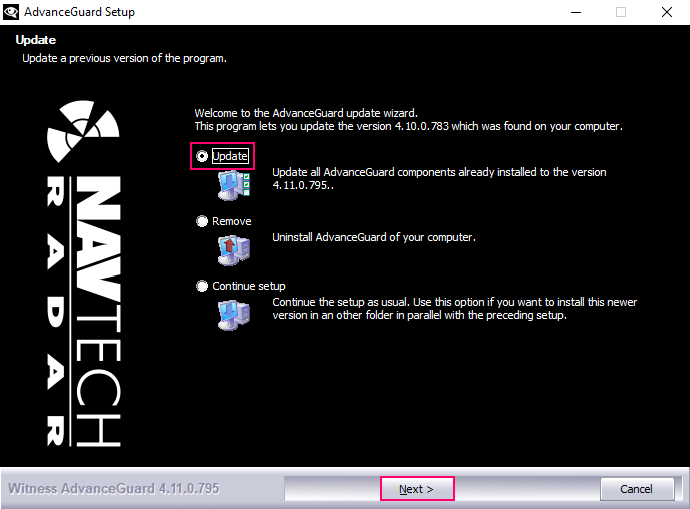
The Witness Setup screen will open.
Ensure that the Update option is selected and then click Next:

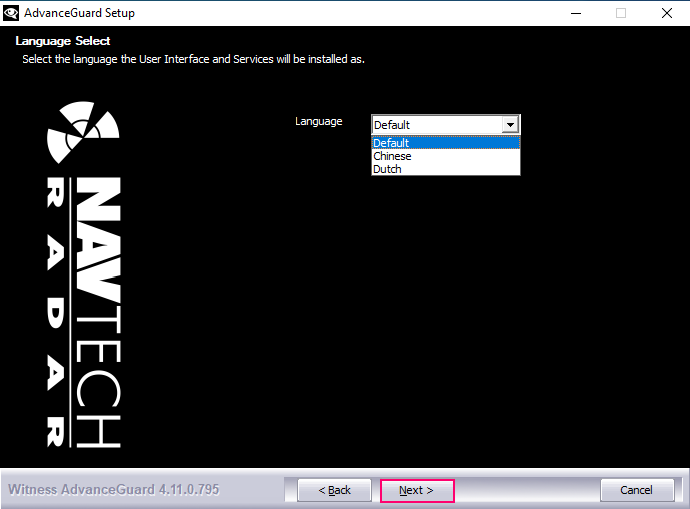
Select the language option you require (Default is English) and click Next:

The Management Server service details should already be populated with the current installation configuration settings:


If the MongoDb server was selected as a component during the installation of Witness then the database service details will be displayed:

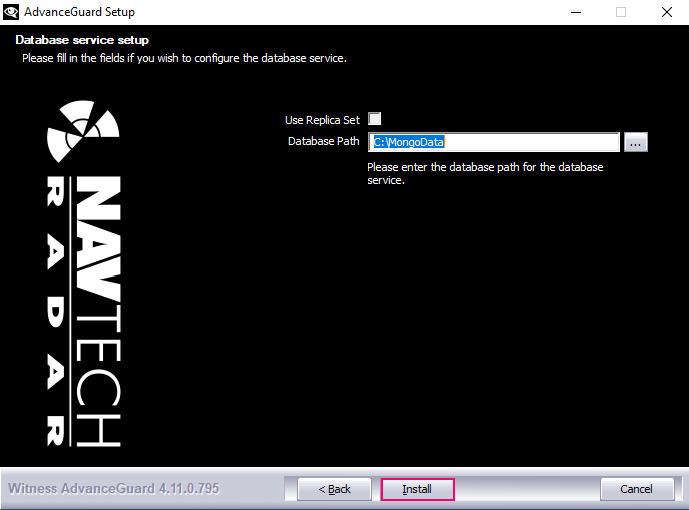
Click Install.
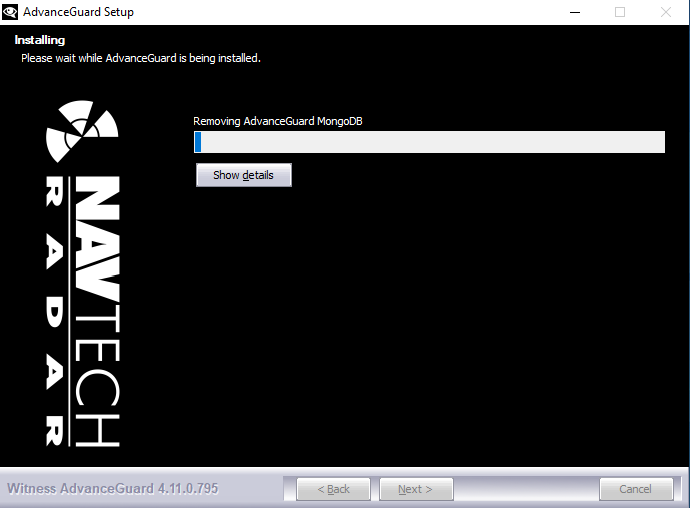
The new version of the software should then be installed, and an installation screen will be displayed:

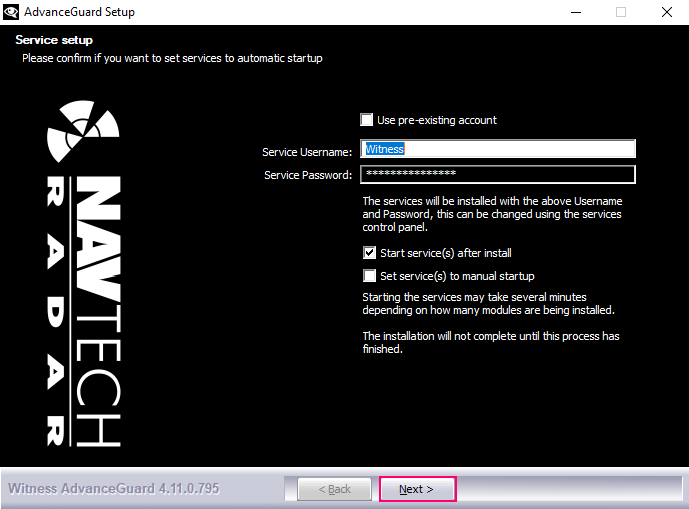
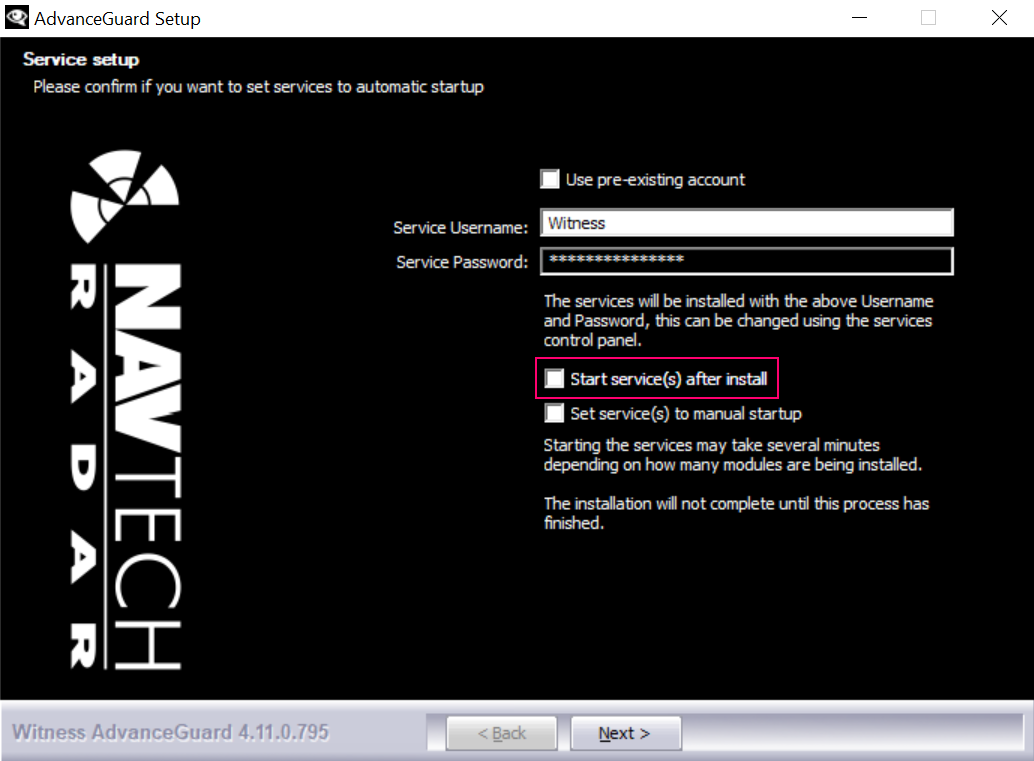
One the installation is complete you will need to confirm if you want to set the services to start automatically or manually. Ensure the default username and password remain unchanged. Then click Next:

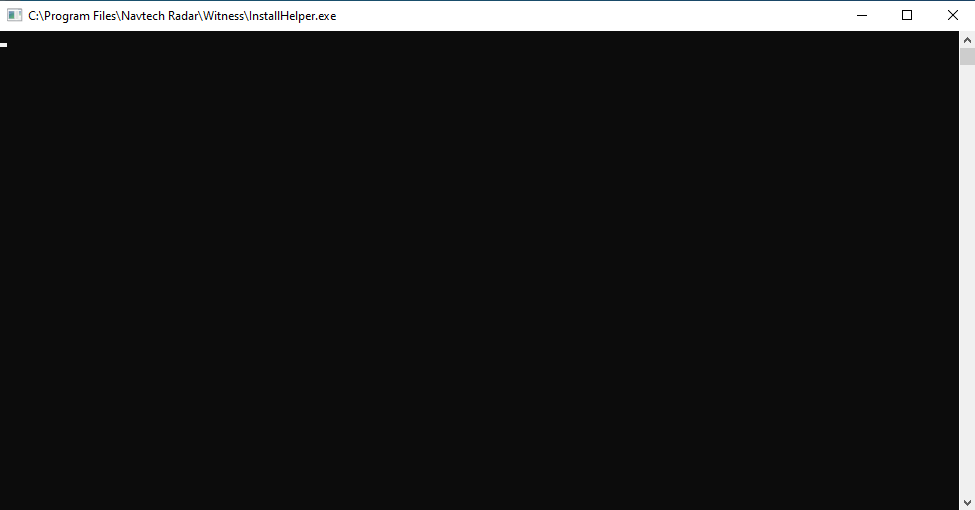
The InstallHelper.exe should briefly open and then close several times:

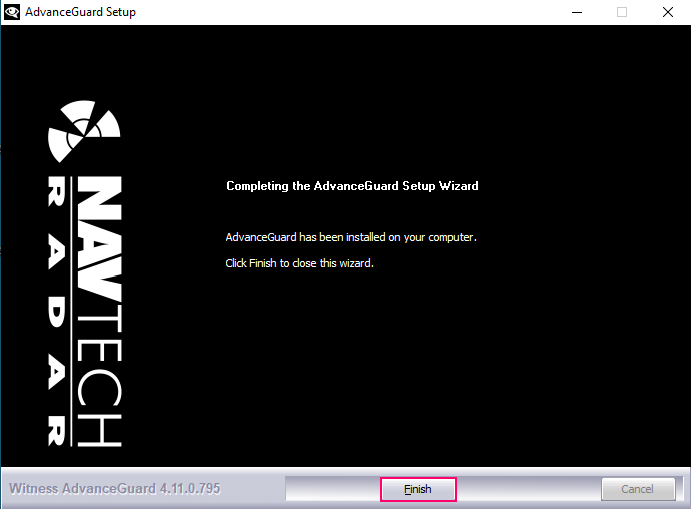
Click Finish to complete the upgrade:

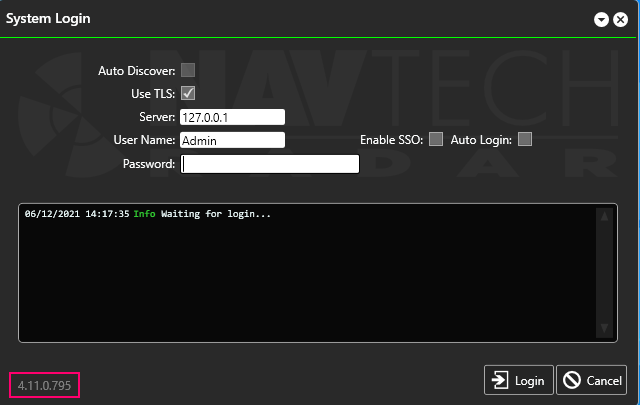
Check that the version number displayed at the bottom of the System Login screen is the expected new version number:

Advanced Upgrade
...
To proceed with an advanced upgrade stop all Witness services on all servers.
Then upgrade all three Database Servers, without the Start service(s) after install selected, as in the example below:
Start the the Witness Database Servers (MongoDB Service) in the order of Primary, Secondary and then Tertiary:


Next upgrade the Primary Management Server but do NOT start the services as part of the upgrade. Note: if you have a combined Database and Management Server, then the Management Server will have already been upgraded.
Start the Management Server Shortcut found in Explorer by using the path %ProgramFiles%\Navtech Radar\Witness by Double Clicking it. Do NOT run the ManagementServer Application.


A ManagementServer command window will be displayed. Press 1 to start the server:


Ensure that no database errors have occurred. Check that the Database Upgrade has succeeded and the output shows Core - Is Primary Server:


Then use Ctrl+C to stop and exit the ManagementServer.
Start the Witness services on the Primary Management Server.
Check that each service is running:

Repeat the process to upgrade the Secondary Management Server and start the services.
...
| Filter by label (Content by label) | ||||||
|---|---|---|---|---|---|---|
|